
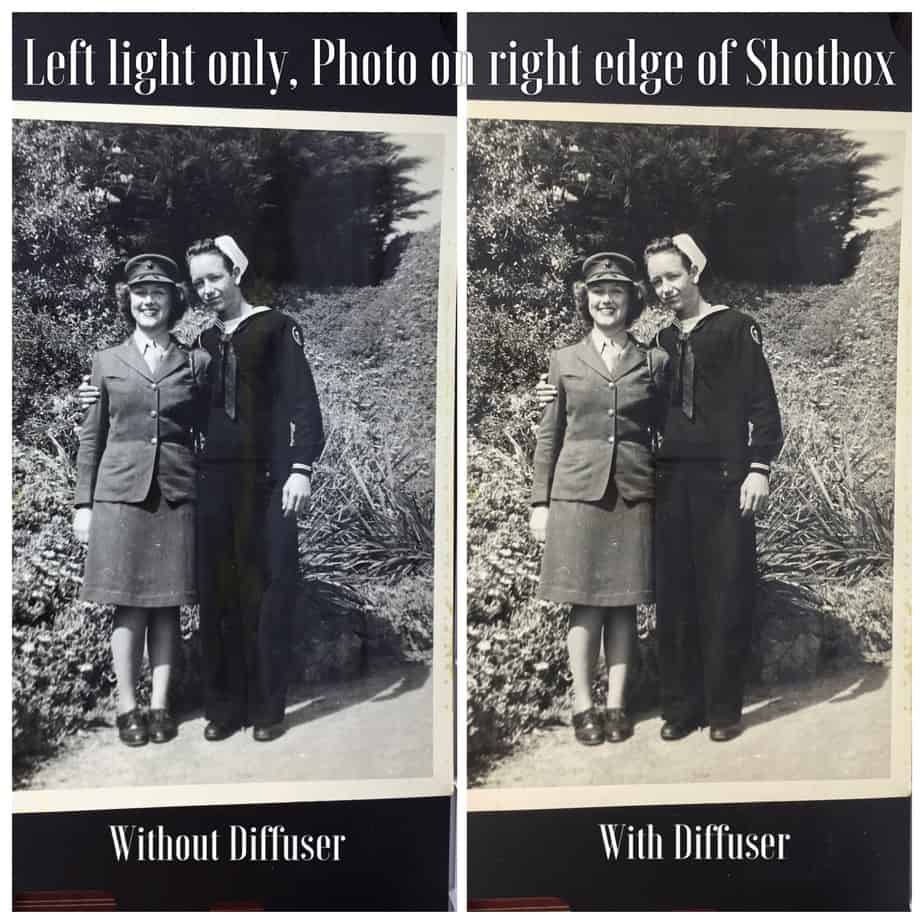
First, many of the photos in my collection have a gloss finish. The glare from the Shotbox lights reflected right off the photos and was captured in the digital image. Now, Shotbox does have a built in ability to deal with this by turning off one of the side lights and moving the photo off to the opposite side. Or, moving the photo to the very center back of the platform. But, even those solutions were still leaving too much glare on many photos. From my knowledge of photography, I thought that what the Shotbox needed was a diffuser for the light strips. Using white tissue paper (the type used to wrap presents), double stick tape, a ruler and scissors, I made diffusers.
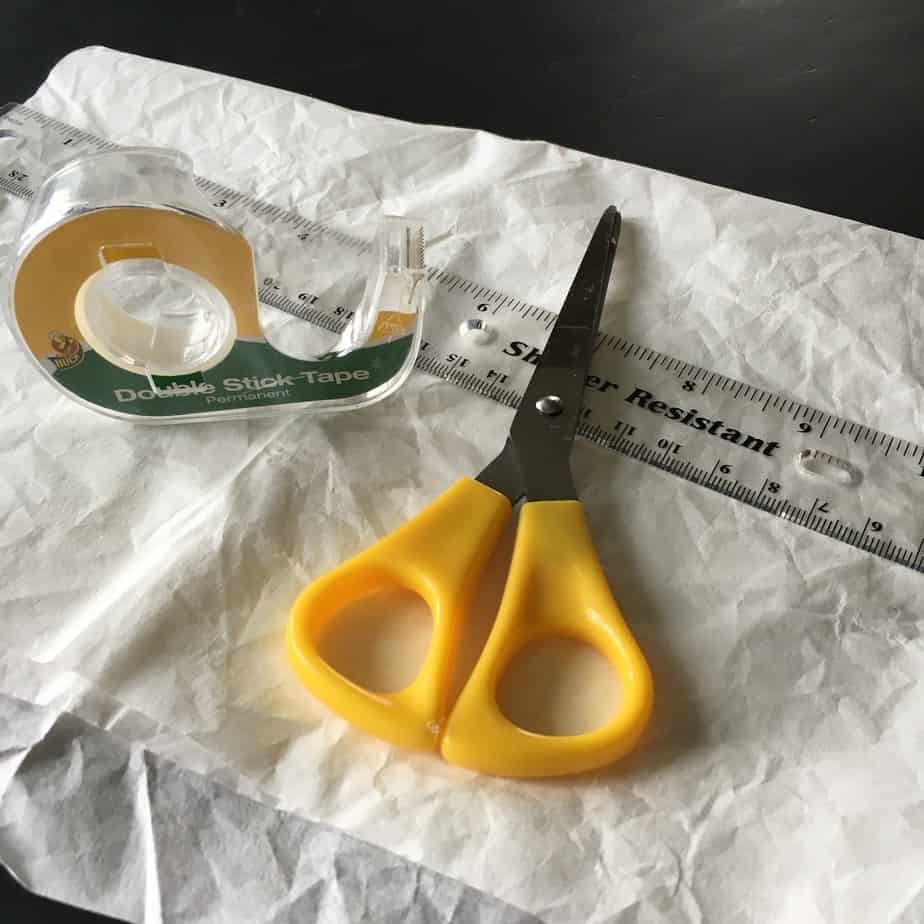
Step 1: fold the tissue paper over at least an inch, press to crease
Step 2: place ruler on folded edge of tissue paper and use pencil to trace along edge and top of ruler
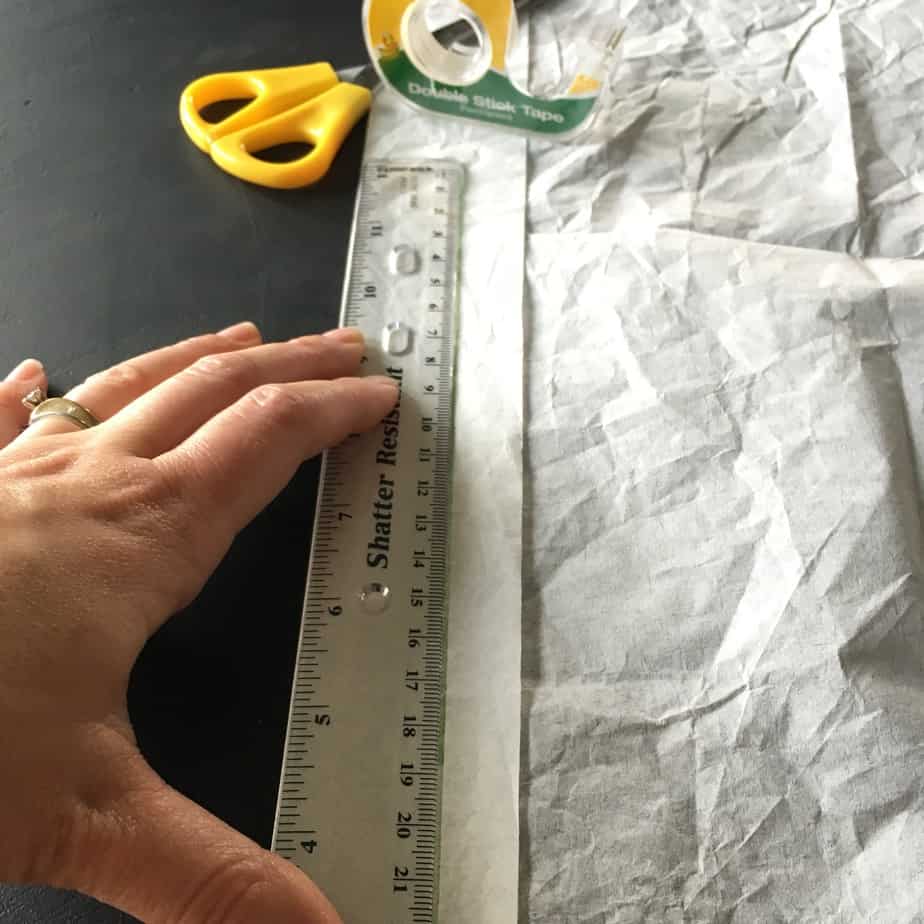
Step 3: cut along pencil line, open up tissue; tissue should be 2 inches wide by 12 inches long
Step 4: stick short lengths of double stick tape 3-4 places along wall of Shotbox just below light strip; stick short lengths of double stick tape 3-4 places along ceiling of Shotbox right along edge
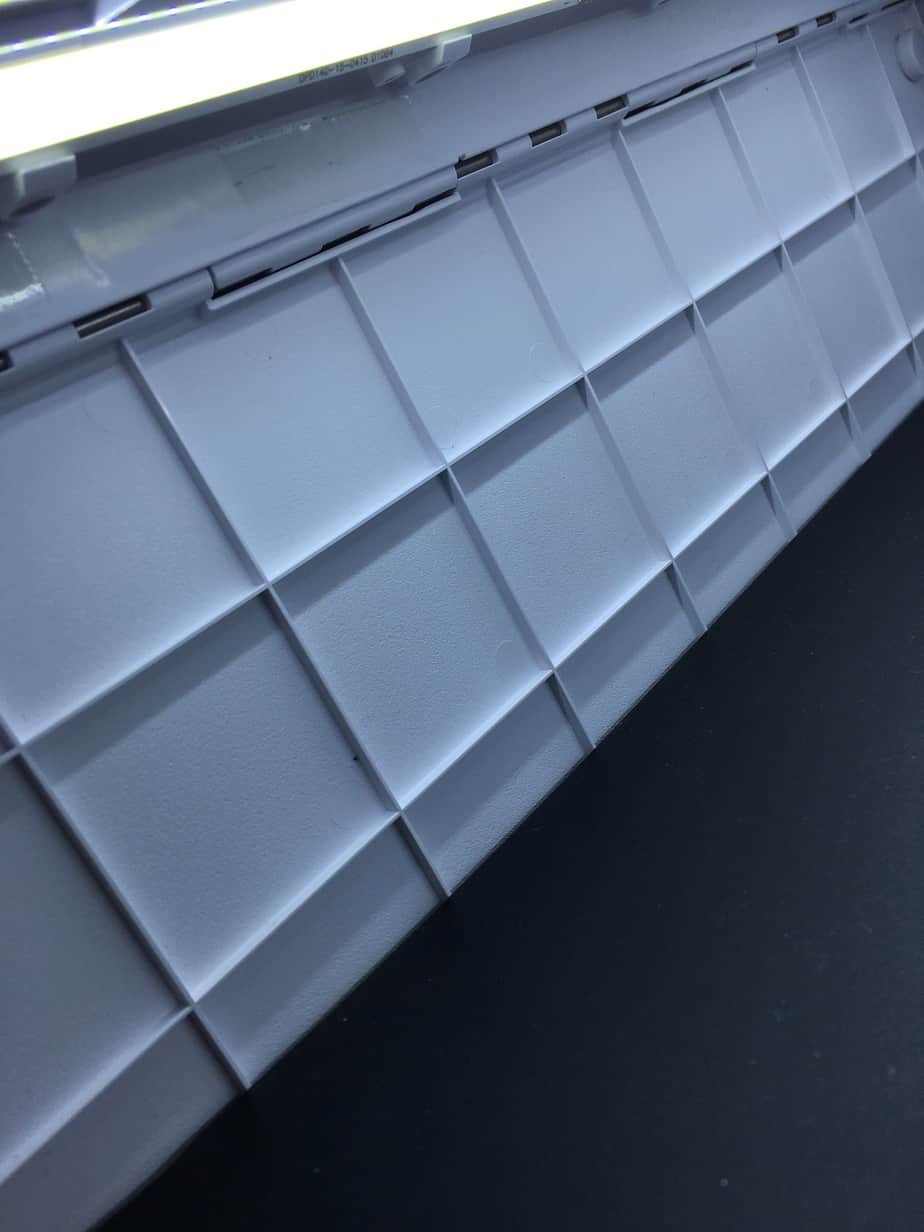
Step 5: press tissue paper along wall-side tape, with excess tissue hanging down; apex of fold should be facing wall
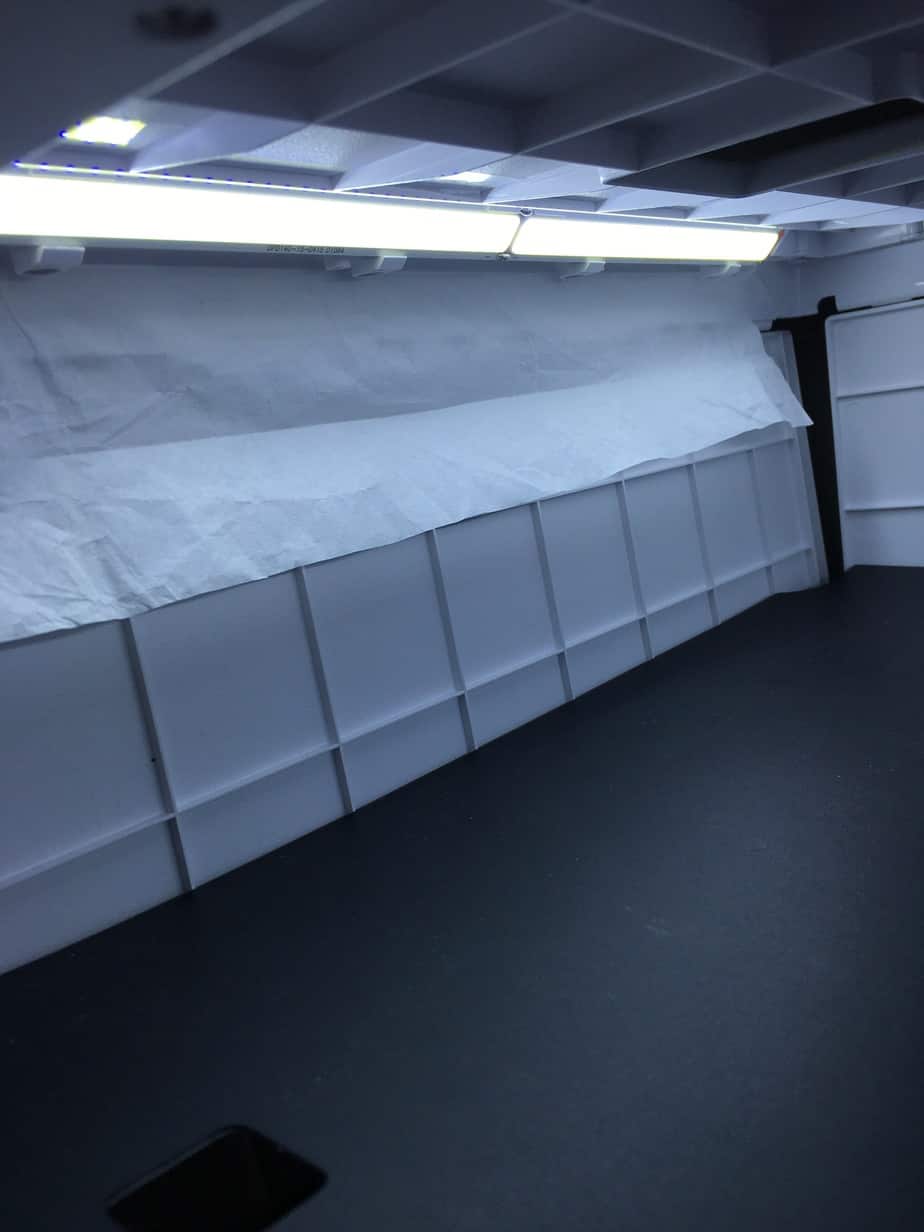
Step 6: press other edge of tissue paper onto ceiling tape, making sure the tissue is not touching the light strip
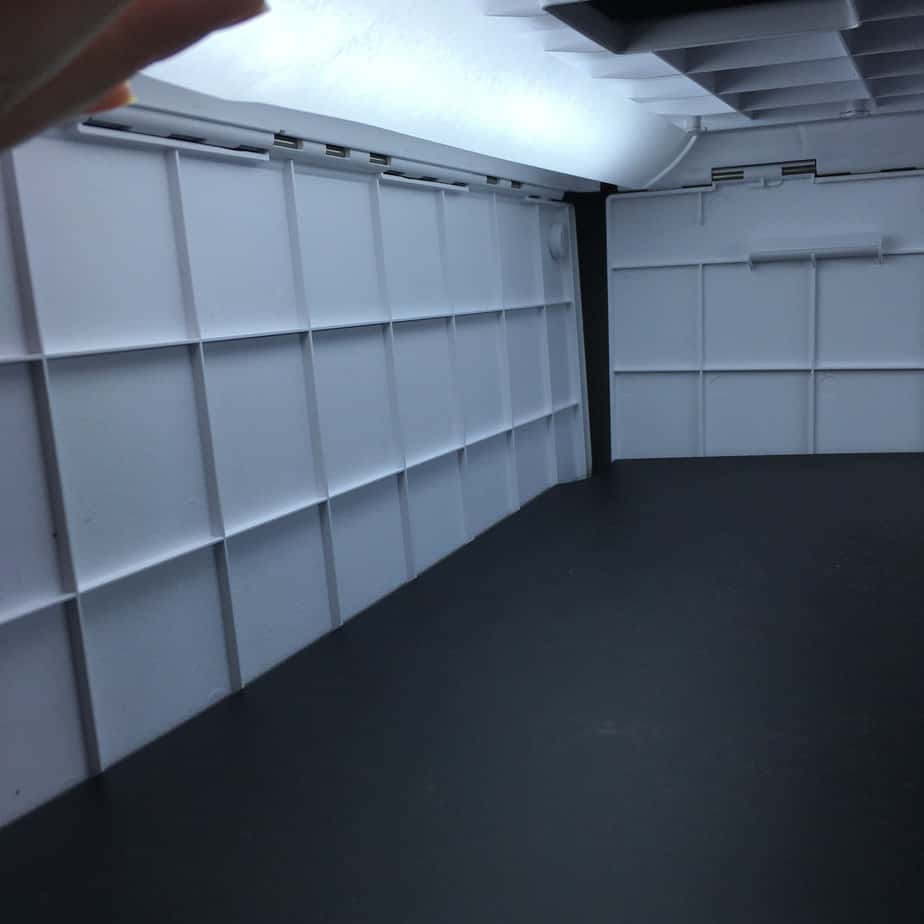
(The way I stuck the tissue to the tape was deliberately to give a pocket of air between the tissue and the lights, to cut down on any possible risk of combustion… I have not had any problem so far, but I do small batches of images at a time, and have not used the diffusers for a long length of time until the bulbs are very hot.)
The results are pleasing. While the glare is not gone, it is certainly improved. Another unexpected improvement is that the diffuser tempers the blue tone the light strips give off and the image turns out with more accurate color.

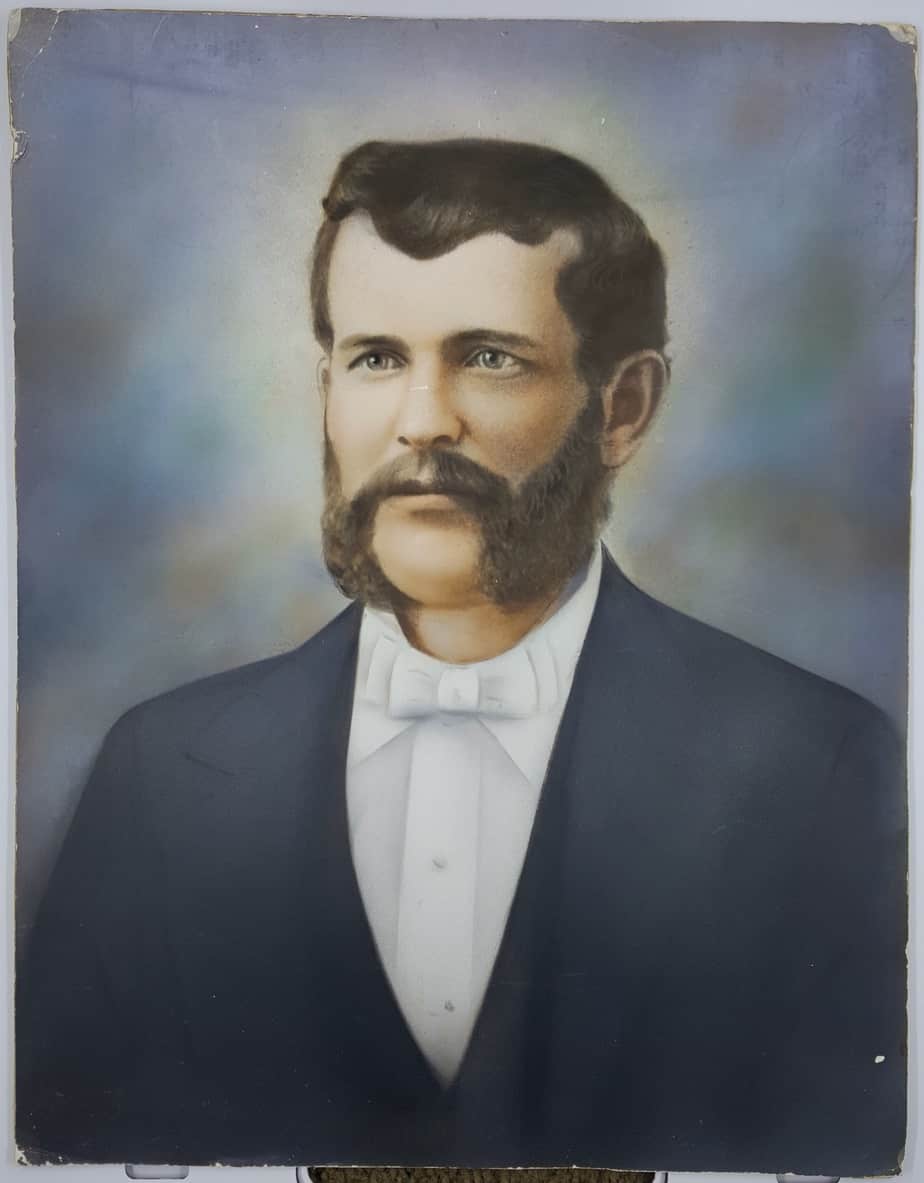
Second, the distance from the top to the bottom of the Shotbox is perfect for larger photos, such as my great-great-grandfather, Henry Turner’s 14×11 portrait. It fit just perfectly in the Shotbox for a clean, clear image with little cropping needed.
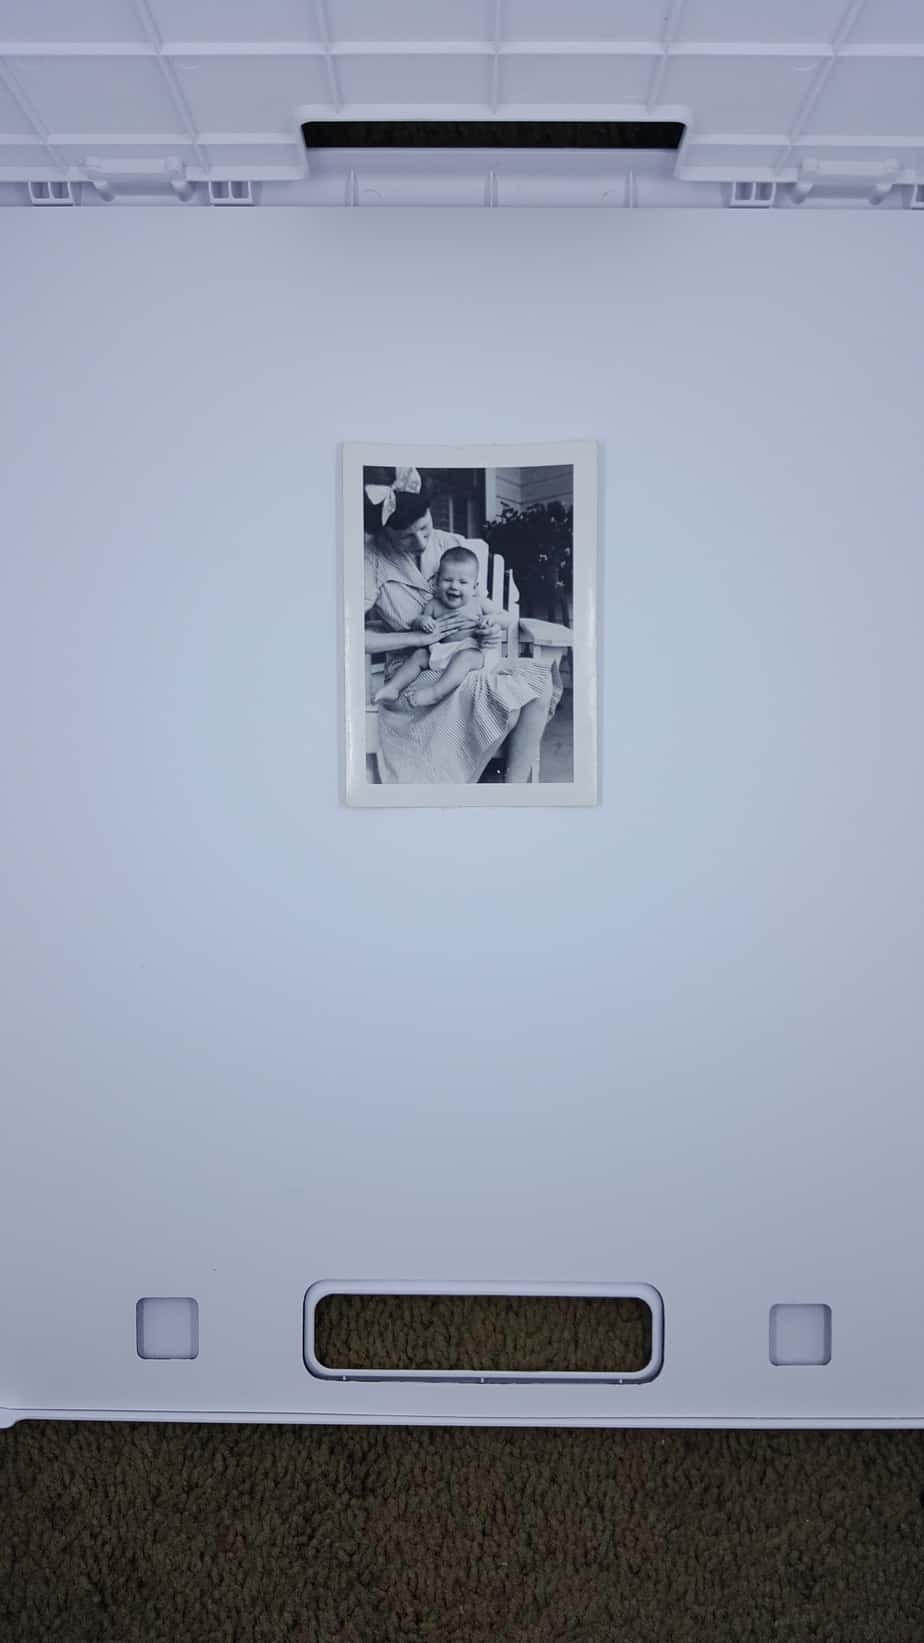
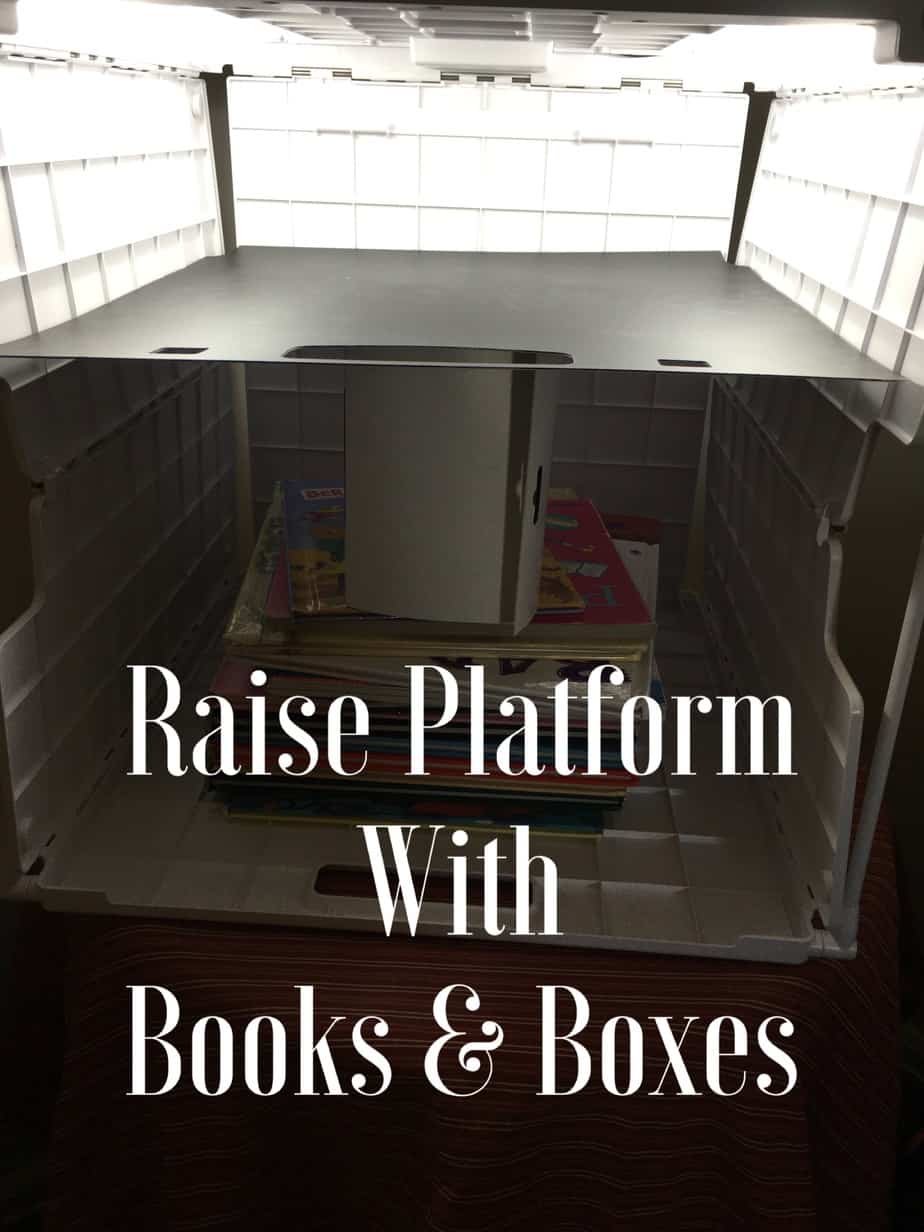
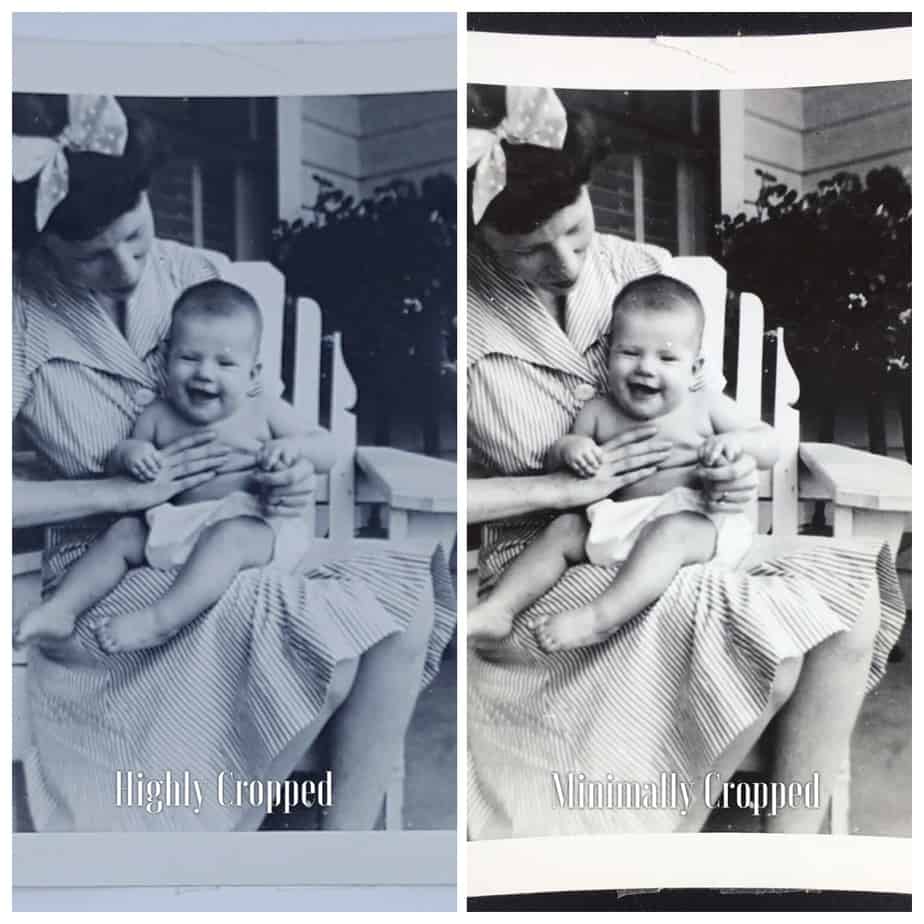
Small images don’t work as well. They require a great deal of cropping, which leads to a much lower resolution image. I needed a way to get the photos closer to the camera lens, so the final image would be as high resolution as possible. The super-low-tech solution is…. A stack of books and/or boxes under the base panel. This solution is easily adjustable for medium or very small photos, simply add or subtract books or boxes until the photo takes up most of the space in the camera view finder to minimize the need to crop.
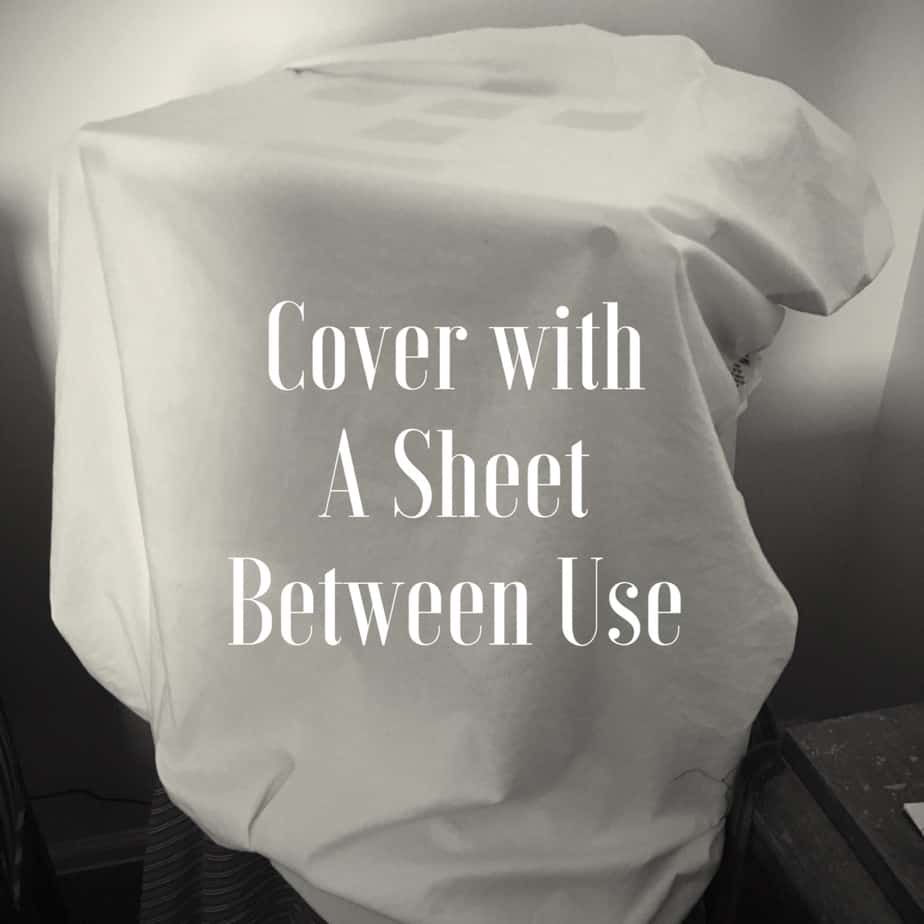
Third, I often leave the Shotbox set up in a corner of my room between sessions, but I wanted to keep it dust free for the next session. So, I took an old fitted crib sheet to cover the Shotbox when it is not in use. (This also keeps it out of sight/out of mind for curious young children!)
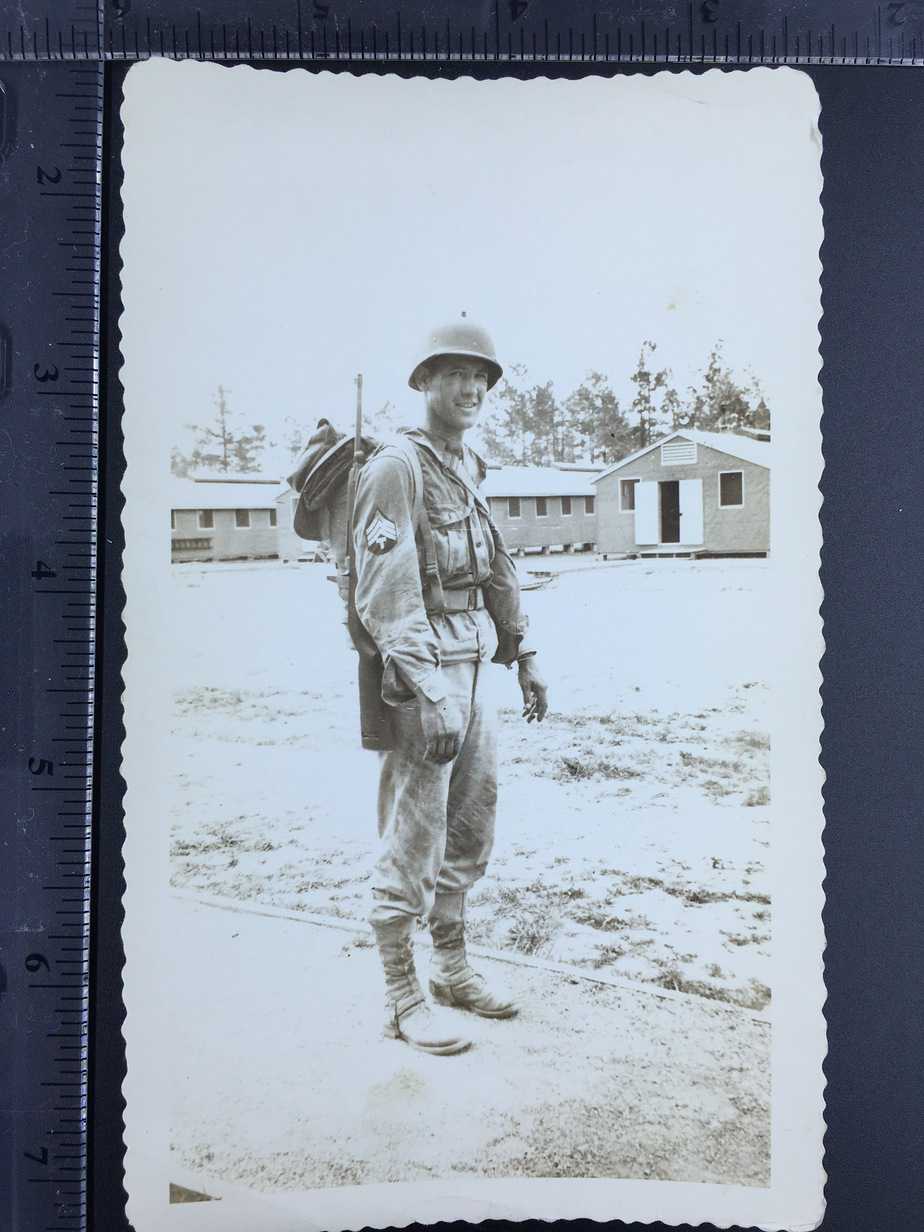
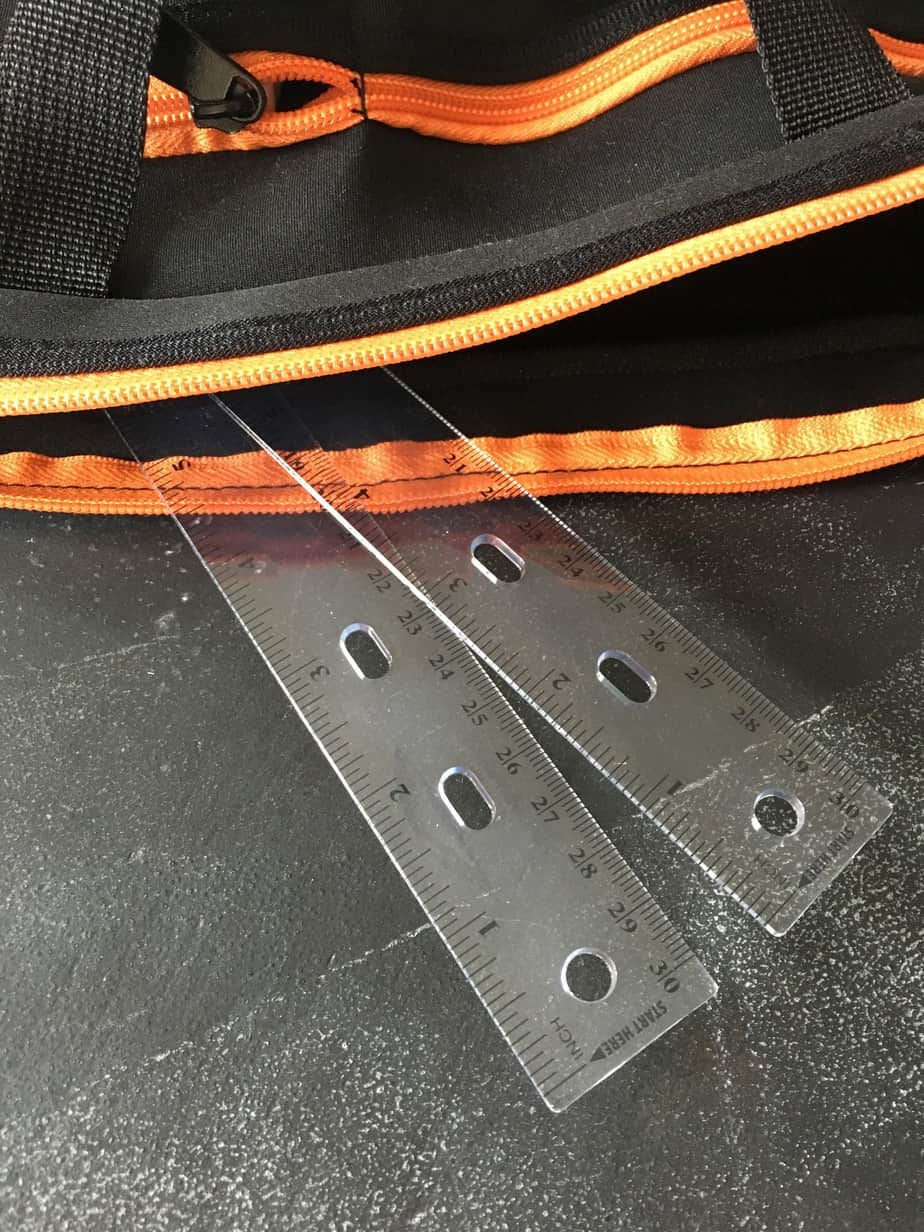
Fourth, as part of a photo’s metadata and citation, I like to include the size of the original image. Yet, it is tedious to measure each photo and record that info as I digitize it. Optionally, I have to pull the photo out a second time after I take a digital image of it to measure it as I am creating the citation. To streamline this process, I bought two very inexpensive plastic rulers. The rulers can be laid at two sides of the photo in the Shotbox so they are also recorded when the digital image is taken. When I process the digital image later (cropping, writing metadata and citation), I have the measurements handy. The rulers are cropped out for the final digital copy. The rulers store in the Shotbox bag along with all other accessories.
*I am not affiliated or sponsered in any way by Shotbox. I am just a happy customer who wants to share how I am making the most of my purchase.






1 Pingback